YSK: Partition for Performance
This post is part of an on-going series - You Should Know (YSK:) where I shine a light on applications and utilities that can make workflows better and help with some quirks found in macOS and other applications.

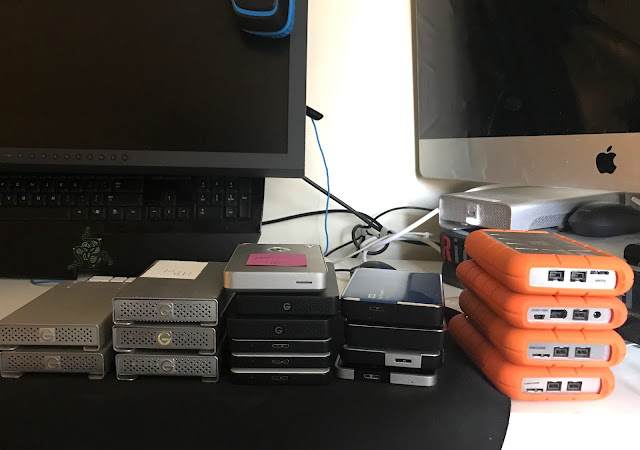
If you are a photographer, digi-tech, data wrangler, or videographer shooting directly to a Mac's internal storage, you might be leaving performance on the table. Every time a new file hits your drive, macOS Spotlight immediately spins up to index it. While the performance hit per file seems negligible, multiplying that by thousands of RAW images or heavy video files causes significant, unnecessary background CPU usage and disk I/O. By disabling it, you eliminate that background overhead, freeing up your system resources entirely for ingestion and image processing.
You can disable this folder-by-folder, but I've found it much cleaner to create a dedicated partition strictly for your active shoot media. Indexing is disabled at the partition level, ensuring macOS never touches those files. Thanks to the flexibility of modern APFS volumes, you don't even need to allocate a fixed size when creating them; they share the free space dynamically, completely eliminating the storage constraints and headaches of old-school partitioning.
Beyond performance, this setup offers a subtle workflow bonus: a dedicated volume sits much higher in the Finder hierarchy, saving you repetitive clicks when navigating file pickers throughout the day.
This partition method handles your internal drive, but if you're managing external storage, use Spotlight Off to automatically kill indexing the second a disk mounts.
If you want to set this up on your own rig or want a closer look at the technical performance impact of indexing, read on below.
How To:
Step 1: Create the APFS Volume
Applications -> Utilities -> Disk Utility -> Select your internal Data drive -> Click the + (Volume) button in the toolbar -> Name it (e.g., "Shoots") -> Keep format as APFS -> Click Add.
Step 2: Disable Spotlight Indexing on the New Volume
System Settings -> Siri & Spotlight -> Scroll to the bottom and click Spotlight Privacy... -> Click the + button -> Select your new volume from the sidebar -> Click Choose -> Done.
A deeper dive...
1. Disk I/O Competition
When a camera card is dumping files to your internal SSD at 1000MB/s+, your drive is working hard.
-
With Spotlight On: As fast as files hit the drive, the
mdworker(metadata worker) processes spawn to open, read, and index them. This means your SSD is trying to write the new files and read them simultaneously for indexing, creating internal I/O competition. -
With Spotlight Off: It is a pure, uninterrupted write stream.
2. CPU and Thermal Throttling
Every new file triggers an event. If you dump 2,000 RAW files or an hour of
fragmented video clips at once, macOS will spin up dozens of
mdworker
threads. On a laptop, a sudden spike in CPU usage means more heat. If the
laptop gets too hot mid-transfer, the system will thermally throttle,
slowing down everything—including your copy speeds.
3. Capture One / Lightroom Conflict
Professional software maintains its own extensive database and previews.
Having
mdworker
constantly locking files to read them right as Capture One is trying to
generate previews or write to its session folder can cause micro-stutters in
the software UI.